A dress form, it's a lovely tool to help you get an idea about how your garment is going to look. How fabrics are going to drape and also a really good tool for hemming skirts.
They were 50% off at Jo Ann's this weekend, so I decided to get me one.
I got the Dritz simple fit, it's a basic model. Easy to assemble and adjust, I have nothing to put on it yet but I'm ready to use it for my Renaissance dress.
Whether your just a beginner or so good you can do it with you eyes closed, every crafter goes through these phases when they craft something.
Design Phase
This is where you start with any craft. It can be a simple as looking as picking out a patter, or as complex as making a detailed drawing of what you want to make, with colors and materials listed.
-For Jewelry again you can look at instruction book, or make a drawing.
-Picking out blueprints
-Grabbing as many reference pictures as you can and putting them together is always a good place to start
Planning Phase
This is how you figure out what you are going to do to actually make the design a reality. Again it can be simple or complex.
-Make a task list of things that need to get done.
-Are you going to follow the instructions or pattern exactly or are you going to deviate.
-Are you going to make a pattern from scratch or are you going to work off other patterns.
-Gather the pattern you plan to use and then list which parts you are going to use from what
-List how you are going to use the patterns
-List the materials you plan to use, satin or crepe, rondelles or bicones, acrylic or wool.
-Figure out how much of each material you are going to need
-Choose your colors, even if this means buying swatches and taking them home for a week you need to pick exact colors before it's time to make the item.
Test Phase
This is the time to test to see if your plan works.
-If you drafted your own pattern, this is a good time to make a mock up
-line up beads to see if you like the combinations
-make a quilt block to see if the plan works, or the colors work, or whatever
-if it doesn't work here go back to design of plan phase to see what needs to be changed.
Make Phase
This is easy, make your item. Sew the dress, build the table, make the necklace, knit the scarf. You know what I mean.
and finally
Show it Off
You know what I mean. Take picture, show people, wear it, be proud you made something.
Every crafter from beginner to expert goes through these phases and you will see yourself doing it. Want to start a complex project this is where you start, you have to design and plan before you make.
Are made from this My Little Pony fabric.
I got mine from Jo Ann's but it doesn't show on their website. It took a yard and 2/3rds. It was fussy cut and I barely got the 15 squares I needed out of that.
Then the two center strips
It was made from this fabric.
This one only took a little more than half a yard. The strips were the whole width of the fabric but the width of fabric was not long enough so I had to add two inches to each strip.
And the background.
The only non "My Little Pony" fabric on here, it is a pink keepsake.
As a plain fabric I thought the color worked well with the other colors and the design fit in with my theme.
I've only made the top and I have two more classes, one to place the batting and quilt it, and the other to do the binding.
My final fabric to show, even though it's not on my quilt yet, is my backing.
I bought 1 and 2/3rds yard of this fabric. It is the perfect print to finish this quilt.
I'm loving this design and these fabrics, I can't wait to try this quilt pattern with a different theme.
Before I even let Claire touch the sewing machine I had to set the machine up for her and establish rules that she must obey or she loses her sewing privileges for the day.
She can’t use the sewing machine without Mommy there. I wanted her to be able to sew with Daddy or Grandma there but neither of them know how to use a sewing machine. I want to make sure everything works out so she cannot sew without me there just incase something goes wrong with the machine itself I can take care of it immediately.
She has to ask before using the machine. Just in case she wants to disobey this rule, I keep the machine unplugged and the cord out of her reach.
She has to do her chores and her schoolwork before she’s allowed to sew. Have to give her incentive to actually do her chores and schoolwork quickly.
I had to set the machine up to where she could reach both the machine and pedal. It was hard for me because we don’t have a child size desk that would be strong enough for a sewing machine. I have had to put her machine on a adult size desk, put her in a tall chair, and put the pedal on a smaller chair tall enough to reach her.
Even though I took the needle out of her machine I still make her follow some safety rules.
Long hair is pulled back
Long sleeves rolled up
Machine is turned off while not using it and unplugged if it’s getting cleaned
And biggest of all no fingers in the “danger zone”
I showed her the different parts of the machine and what the different dials do. She had fun learning how to turn the machine on and off and using the pedal. I gave her a piece of fabric to send through the machine. She has gotten good at lifting the presser foot, sliding the fabric under, and lowering the presser foot before she presses the pedal. She’s been good about not putting her fingers in the danger zone. I’ve tried to encourage her to start using the needle but she, herself, has told me she’s not ready for the needle. I don’t think she understands that the machine doesn’t actually sew without a needle, but she’s enjoying herself and getting familiar with the machine. She’ll be ready when she’s ready.
After asking me multiple times I’ve decided to teach my four-year-old to sew. On a sewing machine.
*gasp*
I know she’s only four and a sewing machine is a dangerous piece of equipment. She’s asked me to teach her how to use the sewing machine so many times, and I’ve said no so many times, that I feel if I keep saying no I’m going to destroy her interest. So I started scouring the internet for information on the best way to go about teaching her.
I’ve read quite a few blogs on teaching young children how to sew. Most focus around 6 or 7 but two that I’ve read specifically mention 4 year olds. There are different views on where to start and how to teach young children but there are two opinions that I saw repeated on all the blogs no matter how you start teaching.
It’s not about age specifically but about maturity level and the ability to follow basic instructions. It doesn’t matter if they’re 4 or 14 if they can’t follow basic instructions or obey basic rules they don’t need to touch a sewing machine.
Use a real sewing machine. Share my own machine, buy a cheap one, borrow one for a little while, just do not get her one of the machines targeted towards children (like the Pixie, or E-Z sew). They are more of a headache than they are worth. She is going to be using my old machine the Brother LS2000.
As for methods there are differing opinions:
Hand sewing
Whether or not to begin with hand sewing. Some articles and blogs say to start simple with hand sewing while others say hit the ground running with the machine. I'm in the latter view. She has specifically asked to learn how to use the sewing machine and I personally feel that if I force her to hand sew first she may lose interest so to keep her interest alive we're going to hit the ground running. Learn to use the machine first and then learn hand sewing as the need arises. My plan anyway.
Methods of Introducing the Machine
First there is the hit the ground running with the whole machine as is. Teach her proper hand placement without a crutch so she can learn how to use the machine as a machine truly is. I don't personally like this idea because I feel it's going to be a lot of stress on me. Constantly reminding her of hand placement when she's focused on the pedal is also going to cause some frustration and fear about the needle.
I could have her practice hand placement while I controlled the pedal or have her control the pedal while I guided the fabric. So she can focus on one or the other for a little while. I personally don't like the idea of a disconnect between hands and feet I keep thinking on a delay between action and reaction time. This would probably mean a lot of yelling from her and me.
Finally the method of introduction that I think is the best and the one I’m going with is the one from A Jennuine Life’s "Tiny Sewists" series. She taught her four year old by letting her use the machine without a needle in it. I like this idea because she learns both pedal control and hand placement at the same time without the disconnect and without fear of getting a needle through the finger, hers or mine.
This is a good starting point for my four year old and I’m so proud to be able to share my love of sewing with her.
This isn’t going to be a steady series I will just post to it as updates happen.
So I've begun quilting. I love making clothes and now I'm making quilts. I took a class at the end of February on beginners quilting, and now I'm halfway through my first lap quilt. My thinking has to switch now between garment mode and quilt mode. Especially when it comes to cutting and seam allowance. I've definitely gotten better at using my rotary cutter. All of these blocks were made in classes that I took.
This is the first quilt block I made, it's called an "Ohio Star" I made it in my Quilting 101 class. I used 3 fabric quarters. A star print, a beige solid, and a lavender floral print.
This one is called an "Amish Cross" it was the April Quilt Block of the Month at my local Jo Anns. I made it with 3 fabrics, a Star Wars print, a Star print, and a royal blue solid.
This was May's Quilt Block of the Month at my local Jo Ann's. I forget what its official title is, I think it's row of daisies. Anyway it is made with 5 fabrics: oil slick purple, oil slick blue, green tonal, blue tonal, and a purple solid.
And finally this is my first quilt top, the design is called Pennant Love it's 12 hour class. The triangles or pennants are made from a red floral print. The background is made from Michi Kanji Black by Alexander Henry. The borders and what will be my binding is made from a red scallop print. Finally not pictured but my backing will be made from Tatsu Black and Red. I made the top and now I have to add the batting and backing, quilt it, and then add the binding.
So this has been my new adventures in quilting.
Happy Crafting
I have all my pattern pieces cut out and ready to go.
Most of the pieces are the same as for view B, the Elsa dress. View A, Anna dress, merely get rid of the overlay and shortens the skirt.
I have the skirt pieces in blue.
The yoke and sleeves in the white. Since there were no overlay pieces I could actually cut it with a normal fold. Unlike the cross fold of view B
The bodice in black, I layered the lining behind the satin folded the same way.
Everything is all cut out and ready to go.
Oh and here's a picture of my scrap pile
There were quite a few good sized remnants leftover.
I finally got the fabric for the Anna dress I am making.
I chose costume glitter satin and posh lining, in black, for the bodice.
White costume satin for the yoke and sleeves
And royal blue costume satin for the skirt.
Finally I have one 14" polyester all purpose zipper, one 1/4" clear button, black and white thread, and the pattern I am going to be using.
I chose the costume satin this time so it should all hold together better than the organza of the last one. Also not pictured is the 1/8" elastic I am going to use for the button hole. I have zig-zaged the cut end of the fabric and it is waiting to be washed before I get started.
Happy Sewing
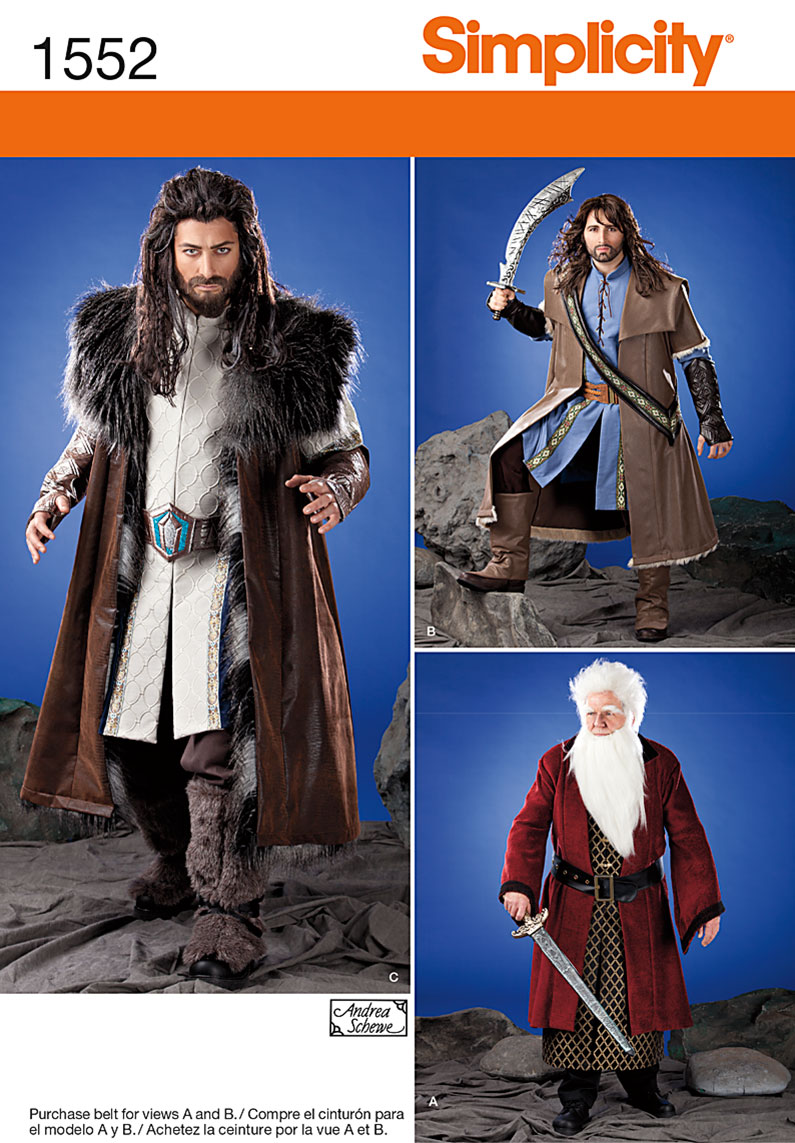
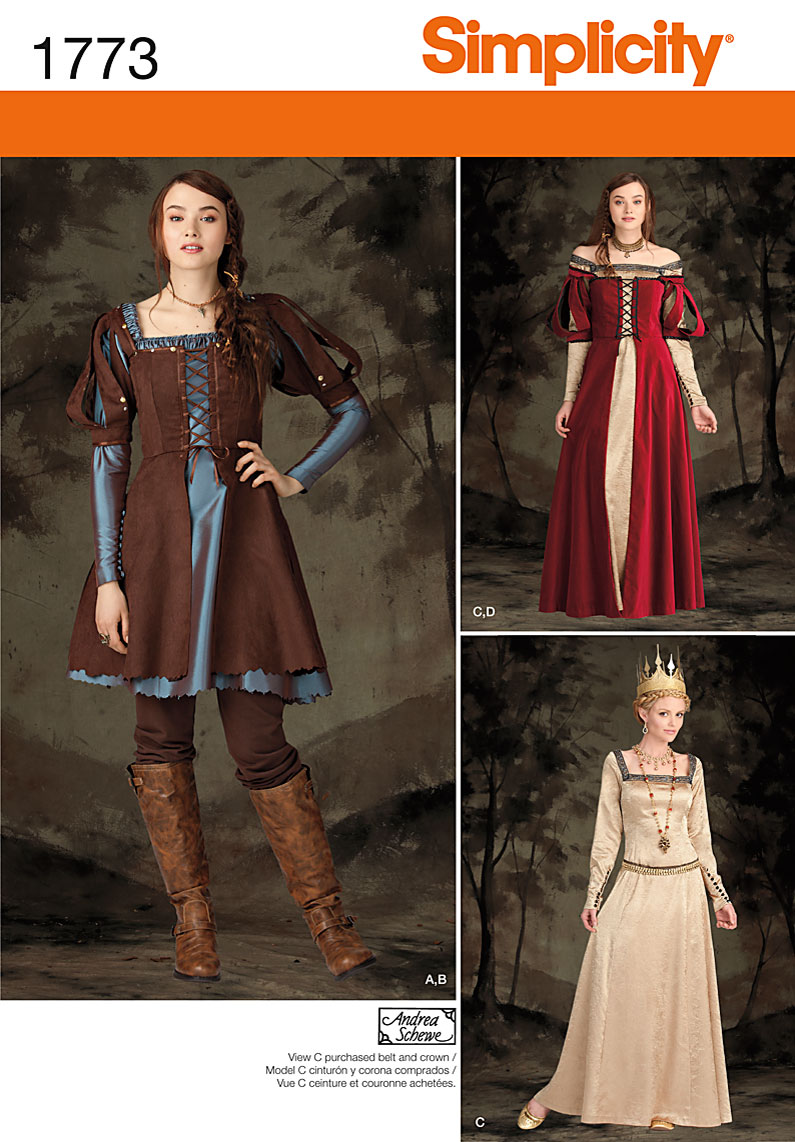
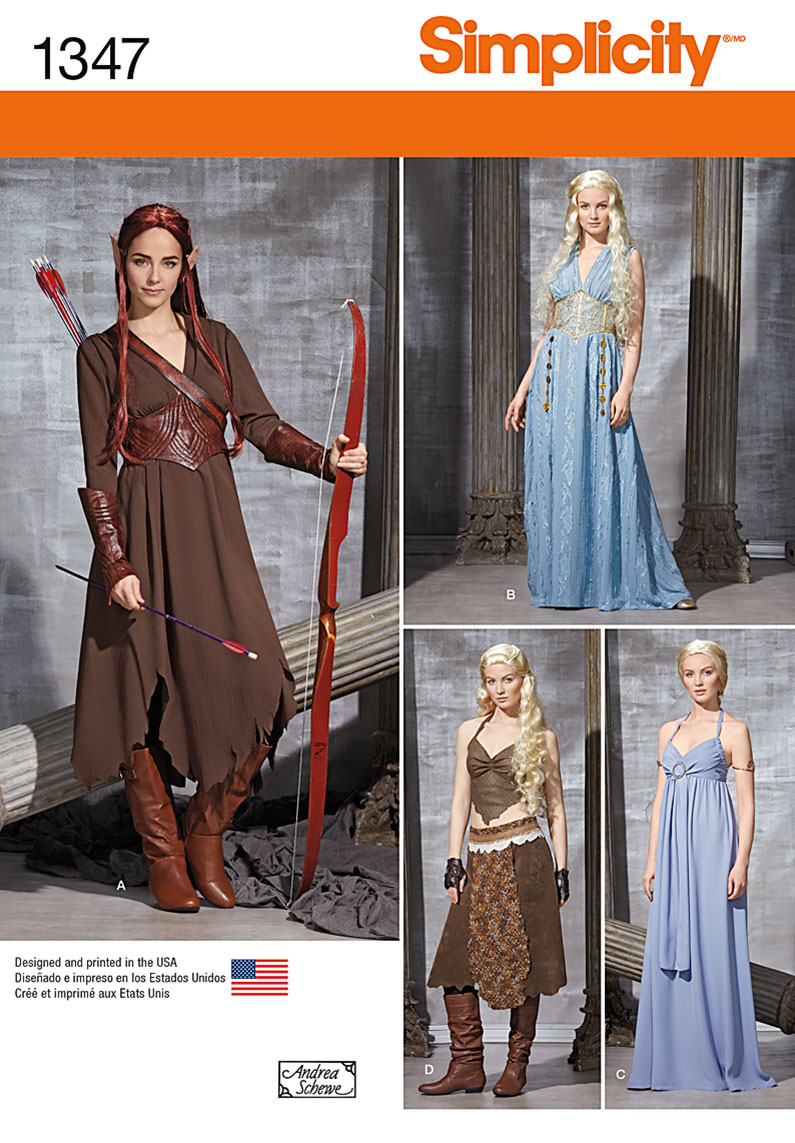
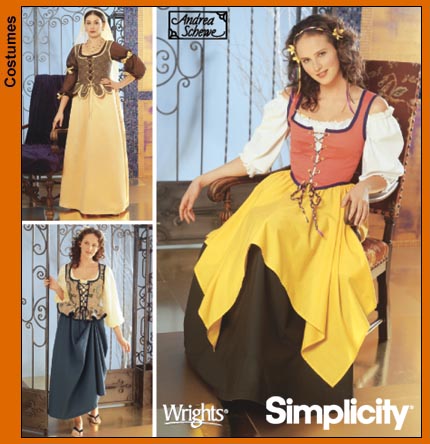
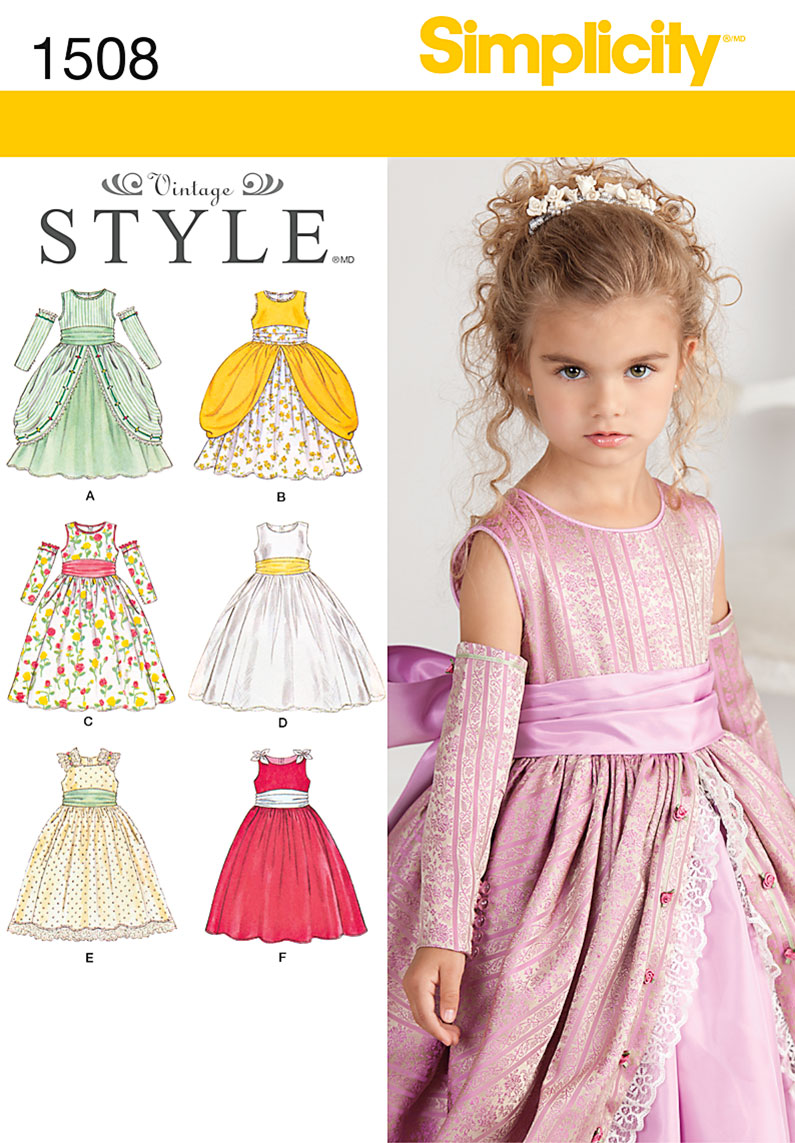
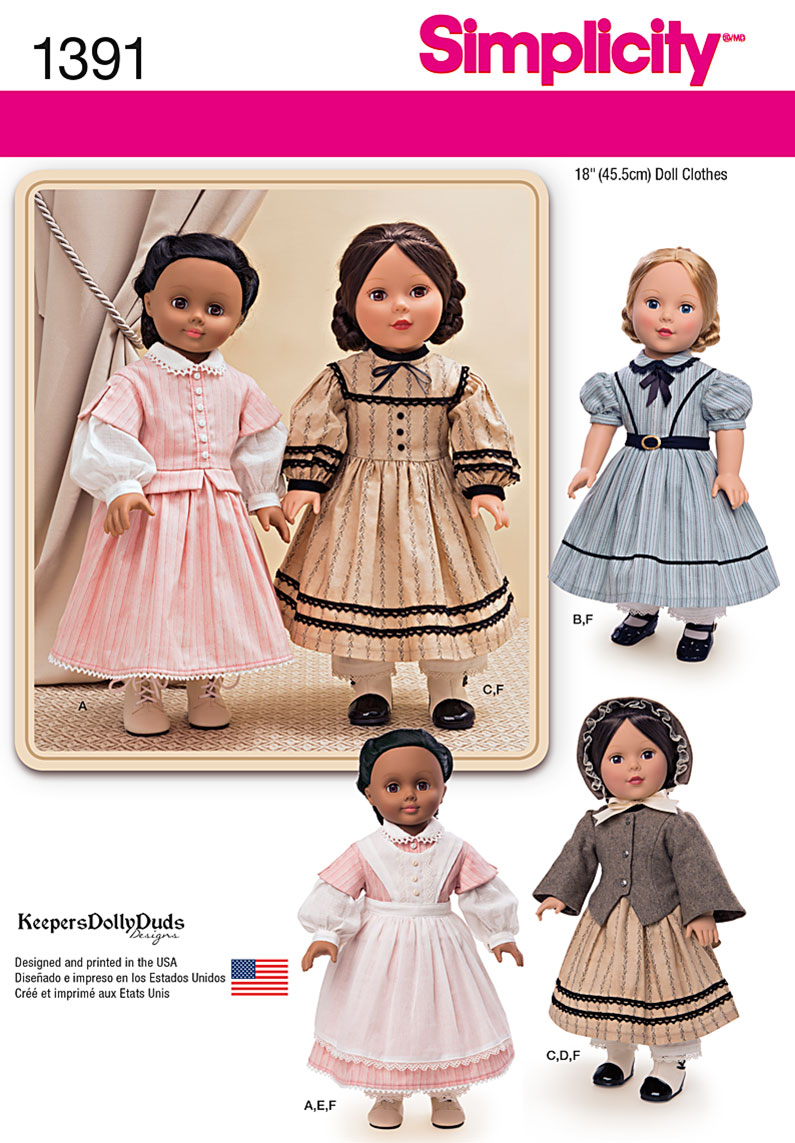
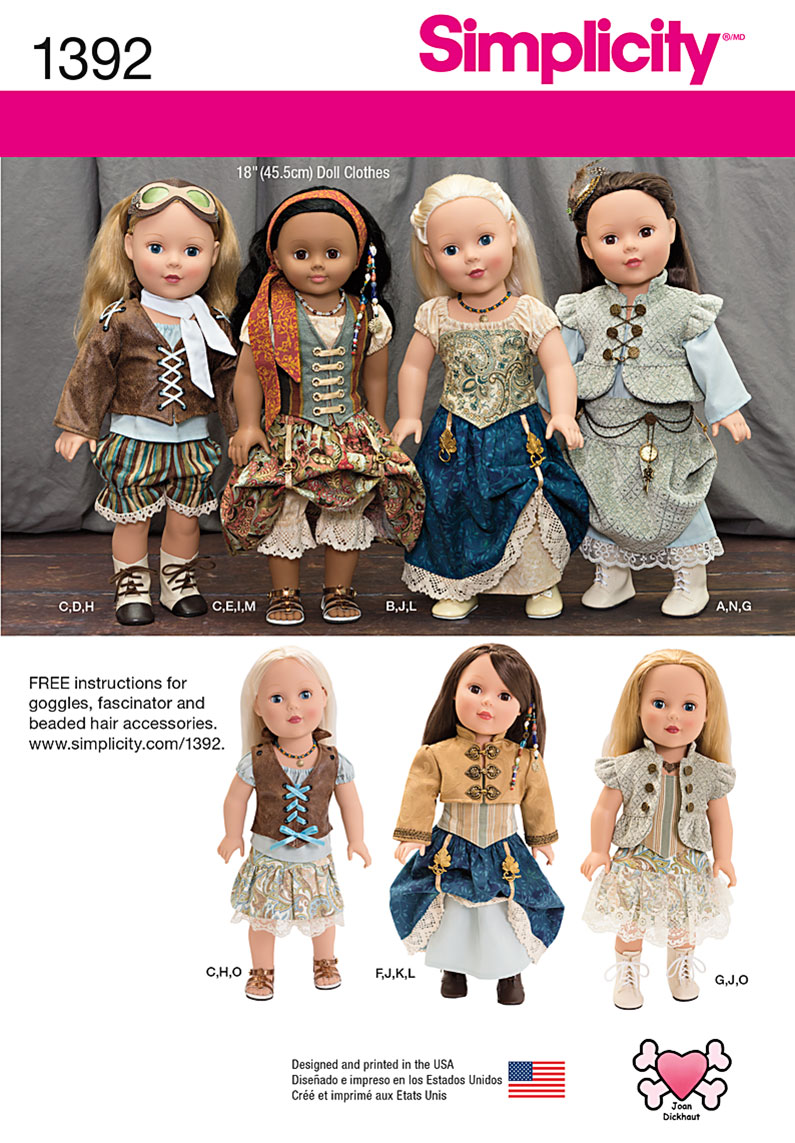
There was a sale at Jo Ann this weekend, Simplicity patterns were $1. I grabbed 10 this time though last time. I've got new patterns to add to my collection.