As much as I love patterns they tend to be a one use item, I know you can use them more than once but after you cut them there are limitations. To free yourself from those limitations I give you pattern tracing.
Materials

1. The pattern you want to trace is the first thing on the list because without it you can't really do anything. I've chosen a simple one project pattern that I got for about $2 at wal-mart. It may be a cheap pattern but imagine it being a $20 vogue pattern.
2. Tracing cloth, it is a sturdy see through material that you can use not only to trace patterns but to make patterns also. The one I use is Pellon 830 Easy Pattern Tracing Cloth. (This one is blank they also have one with a 1 inch grid and one with red dots at 1 inch intervals. If you do not have access to tracing cloth or pattern paper you could also use parchment paper or freezer paper.
3. A pen, or pencil, you need something to mark on the tracing cloth with.
4. Optional A piece of paper to keep track of the pieces that you have traced and which ones you still need to trace.
5. Optional A ruler, a yardstick, and a french curve(not pictured). These help you draw a straight line, they are very helpful when tracing patterns, and make tracing a lot easier, but are not exactly necessary, as long as you stick as close to the lines as possible the pattern will still be usable.
6. Optional A well lit location. Although not necessary adequate lighting will save you from a headache and backache. Nothing like trying to find black lines in the dark.
Now that you've gathered all your materials and found the best location it's time to get started.
STEP 1: Before you even get started you need to figure out what size you need. The back of the pattern envelope will have a measurements chart to help you figure out what size you will need.
STEP 2: Open your pattern envelope pull out the instructions and look at the first page to figure out which pattern pieces you need to trace out.

Now since this is a single project pattern I will actually need all the pattern pieces, I would go ahead and write all the pattern piece numbers down. I usually only write the numbers but if you feel more comfortable you can write the name down, also. If I were working with a pattern that had multiple views and I only wanted to make one view I would just write down the pattern pieces for that view.
STEP 3: Open the tissue paper and find the pieces you need.
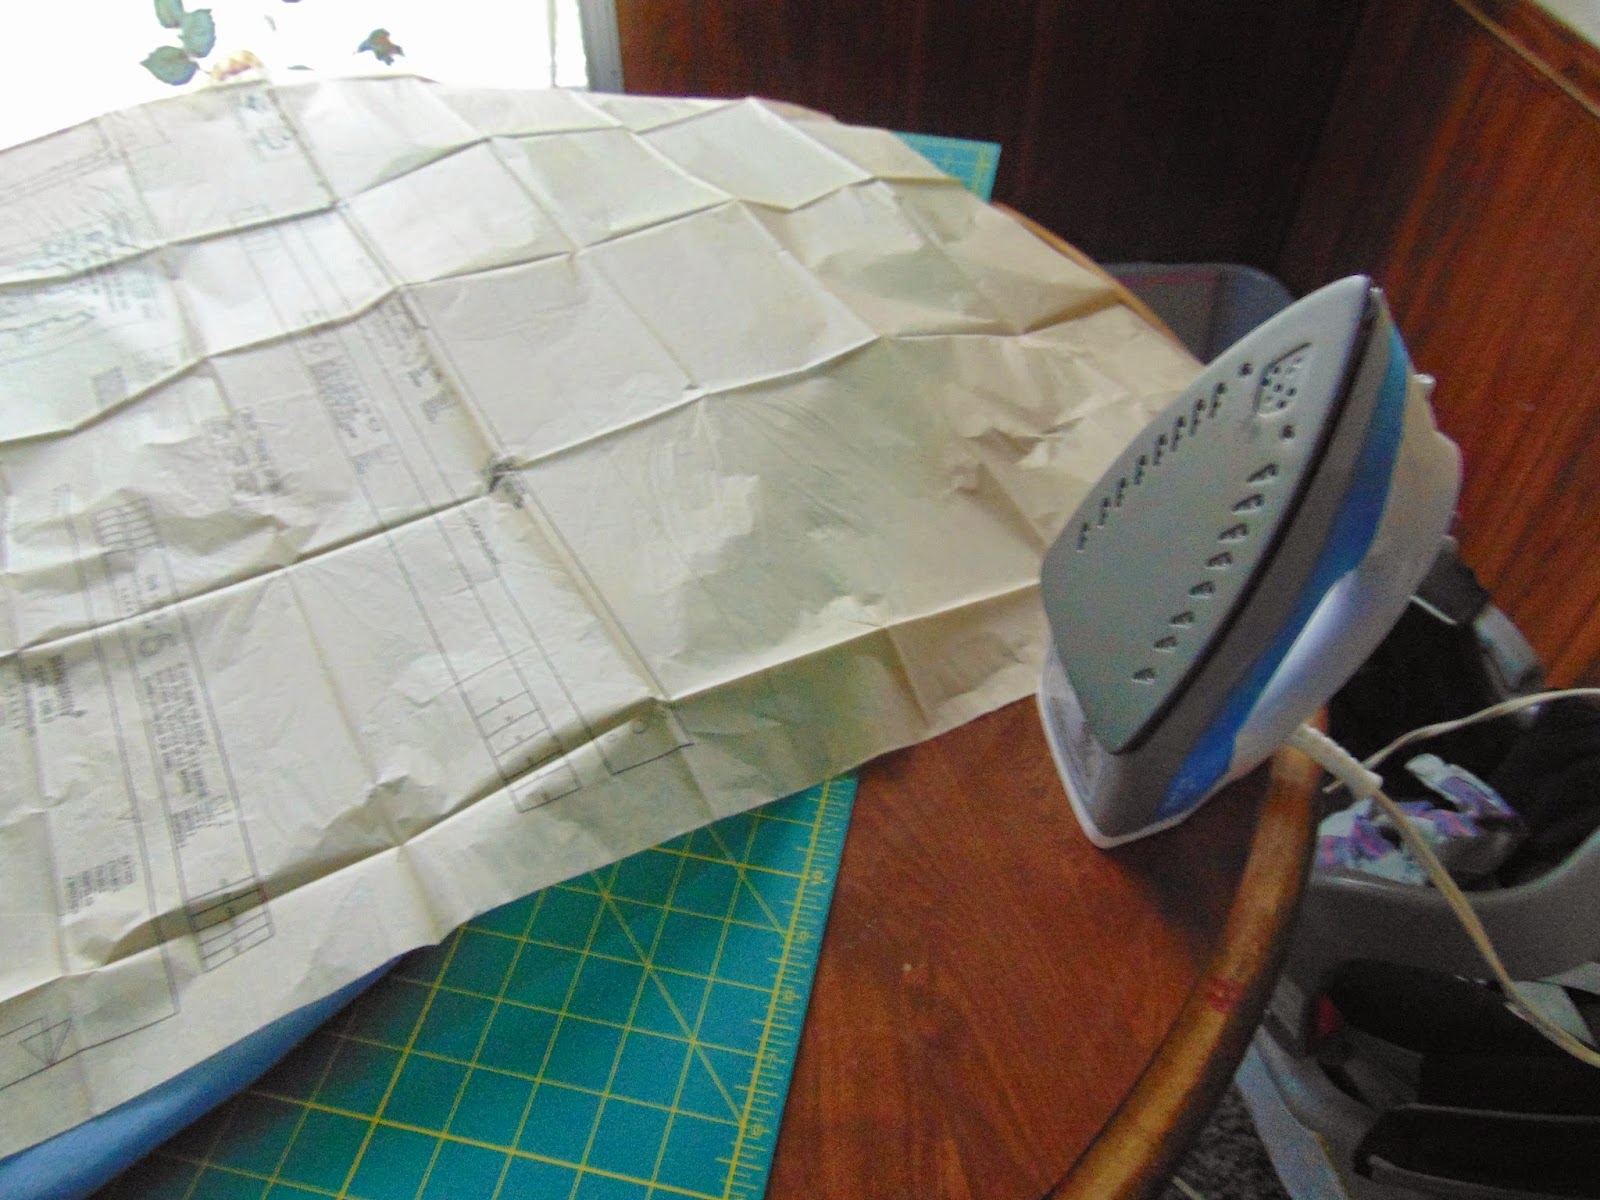
note: It is a good idea to iron your pattern pieces before you trace them to ensure you are tracing the piece in its entirety. I don't actually iron the entire sheet at once, instead I iron the area each piece is in as I get to it. That way I don't waste time ironing a piece I don't need.
STEP 4: Place a piece of tracing cloth over the area where the pattern piece is.

note: You may want to use weights keep your tracing cloth and pattern paper from sliding around. You can use pattern weights, soup cans, or jars of baby food like I did.
STEP 5: Begin tracing.

This is the point that you take your pen to paper, or tracing cloth as the case may be. Simply follow the solid lines. You don't have to trace every single solid line just the size you need at this time. If you plan on using a ruler simply line it up to the straight edges and place you pen against it and follow the line. If you are using a french curve just place it against the curve and do the same thing follow with your pen.

After trace all the solid lines you have a pattern piece outline, which is good but you're only halfway there.
STEP 6: Fill in the information.

Now is the time to fill in all the information. You want to make sure to trace the grain line, and any other pattern markings, like dots, notches, center front and back markings, waistline, hip line, darts. Don't forget to include the information like the pattern brand, number, pattern piece number, pattern piece name, what to cut, basically everything that is on the original pattern piece should be written on the traced piece. The only thing you don't have to include is anything written in another language. Also you may want to include the size you traced somewhere on the pattern piece.
Now you have successfully traced a pattern piece, now repeat for all the other pieces you need.
Tip: If you do not have a french curve or any type of curved ruler you can get by with just a straight ruler, to do an armscye simply trace the straight line with the ruler as far as it can go.

And then simply follow as close as you can around the curve. Like this

It may be sketchy and not as smooth as it would be if I had a french curve but it is still a usable pattern piece.
Now if you come across a curved line that has no straightness to it you can sketch in the entire curve like this.

TIP: There may be pieces that don't actually have to be traced, on this pattern there are two elastic guides, one for the sleeves and one for the collar. Since these are just guides to show me how much elastic I need I don't actually have to trace these pattern pieces I can just measure how much I'm going to need for each piece and write the measurement down on my piece of paper next to the pattern piece number.

After you finish tracing all your pieces simply cut them out and use as you would your regular pattern.

Now you may be asking why should I trace patterns? Why take the time? Why not just buy multiple of the same pattern when they are on sale?
There are several reasons and I'll give you a few.
- If you want to make multiple views of the pattern and view A and B use the same pattern pieces but at different lengths you can trace one or both views of the pattern without having to sacrifice the original pattern piece.
-I like to save money and I have children that I sew clothes for, if I bought a new pattern for every time I wanted to use it I would not only have to buy a pattern for each view I wanted to make but also every size. Multiply however many views I want to make (some patterns have up to 5 views) by all the sizes,(some patterns can go from size 1/2 to 14) that's a lot of patterns to buy even when they're on sale. So I can just trace the pattern pieces for the size and view I want at the time and still have the original with all the views and sizes available.
-What if I wasn't sure what size I needed or if I needed to make a muslin before I committed to a size, I don't really want to waste a pattern just to test what size would work best on me.
-What if I needed to do the infamous full bust adjustment or small bust adjustment, if I've never done one before I would not want to waste a pattern that I paid for on a practice run. This goes for any type of fit adjustments that I may need to do.
-What if I wanted to alter the pattern a bit, or create a frankenpattern, what if my alterations don't work out, I still want to have the original pattern or patterns just in case I need to start over.
-What if it's an out of print pattern (OOP) I may only have access to the one pattern finding it again may not be feasible or buying another one might be too expensive. Being able to save the pattern so that I can actually make all the views I want will definitely save me money.
-What if I run across an older pattern where all the pieces layered on top of each other, this would mean that I would have to trace out the pattern to be able to use it.
-Maybe I'm a collector who has OCD about their patterns and want to keep them always in an uncut, usable condition.
Whatever the reason knowing how to go about tracing a pattern is a skill that is worth looking into.